If you are familiar with zone records this tutorial shows you how to setup zone records using the Discount Domains zone record management tool. If you are unsure of anything it is often better to call our customer services department as incorrect settings will cause your web site / email to be unavailable.
Many free hosting providers supply you with an IP address rather than Nameservers or DNS settings, this makes life easier for them. Here are the setup steps, using the popular service Moonfruit as an example.
Select Domain Admin >> Manage then the zone records option.
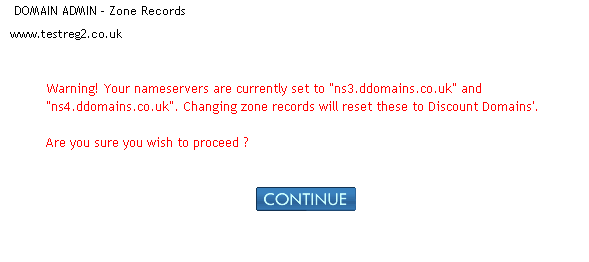
Select Continue
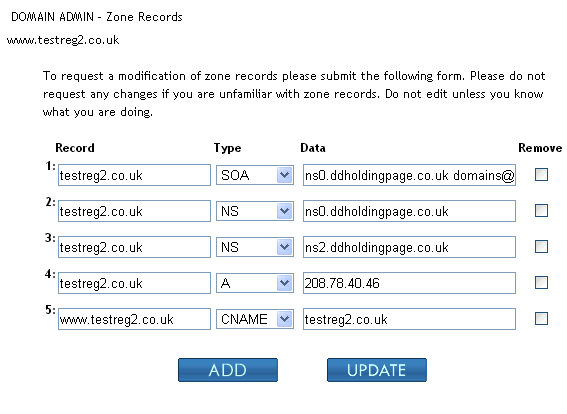
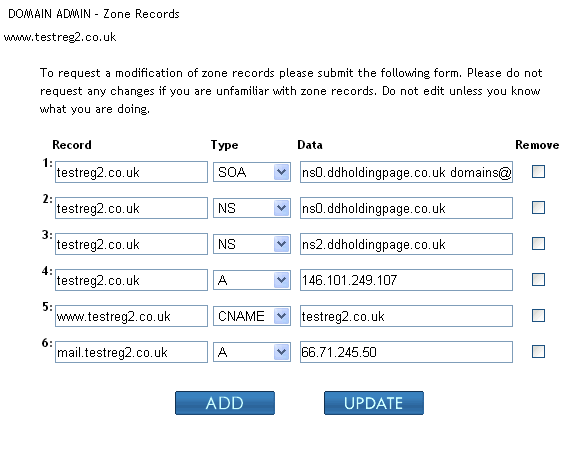
Replace the IP in the data field of row 4 with the IP supplied for example 146.101.249.107 which is the IP used by Moonfruit.
Then press update
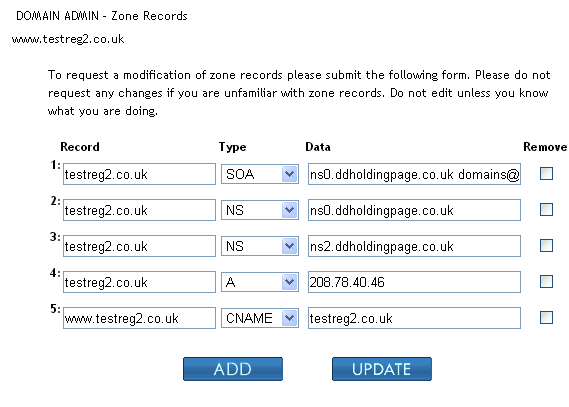
That is all you need, within a few hours, up to 24 hours in some cases, your website will appear when you enter your domain name in a web browser.
Follow the steps above, then select Add
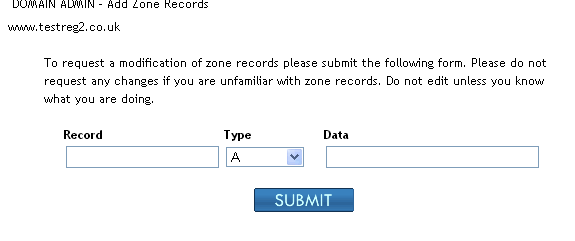
Enter your mail.yourdomain name (replace yourdomain with your own domain name) in the left hand field, without a “.” At the end and the IP of your Discount Domains server in the right hand box.
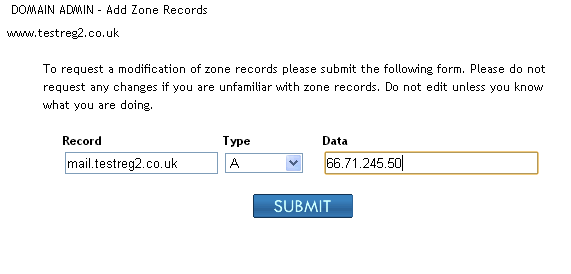
Press submit
The records show now look like this:
Now add another entry
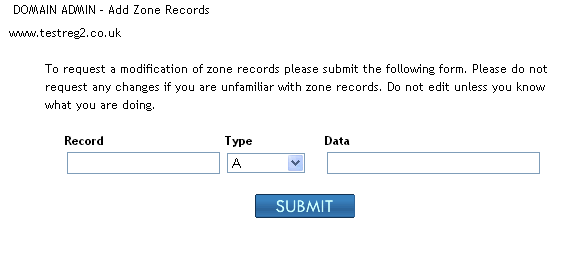
Your domain name in the left hand box and mail.yourdomain name in the right hand box, change the Type option to MX5
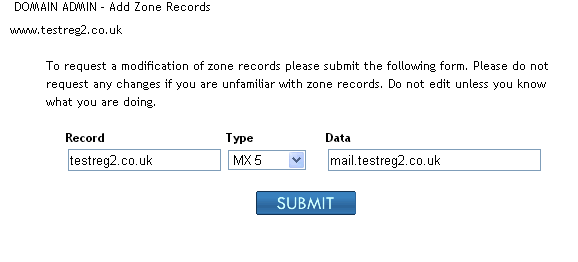
Your records should now look something like the following:-
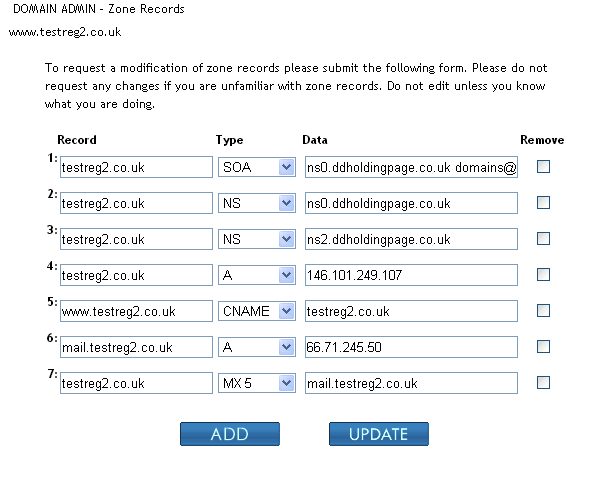
This is complete, allow up to 24 hours for the new settings to spread around the internet.
In this example web traffic is being sent to Moonfruit and 141.101.249.107 and mail (MX=mail exchange) is being sent to one of the Discount Domains hosting services that run mail, if you are ensure of which IP to use for your mail server, contact support for assistance.
© 2024 Discount Domains UK (a brand of Astutium Ltd)